DAY2 File storage is a simple, secure, and auditable storage for storing and managing files. It is currently available in every application and can be accessed by all users of that application.
Supported Operations
- Manage Folders (Create/Edit/Delete)
- Manage Files (Add/Edit/Delete)
- Add one or more files from a local or remote machine.
- Download file from the application storage to a local or remote machine.
- Email and DAY2 portal notifications for Add/Download operations
Prerequisites
The remote machine used in file operations (ex: an AWS EC2 instance, On-Prem VMWare Virtual Machine, GCP virtual Machine) should be a DAY2 Managed instance and in “running” status.
How to get started
- Login to DAY2 Portal (https://app.montycloud.com)
- Navigate to Apps Menu, Next click on your Application tile.
- In the Application Details view, click on the “Files” to access the DAY2 File Storage.

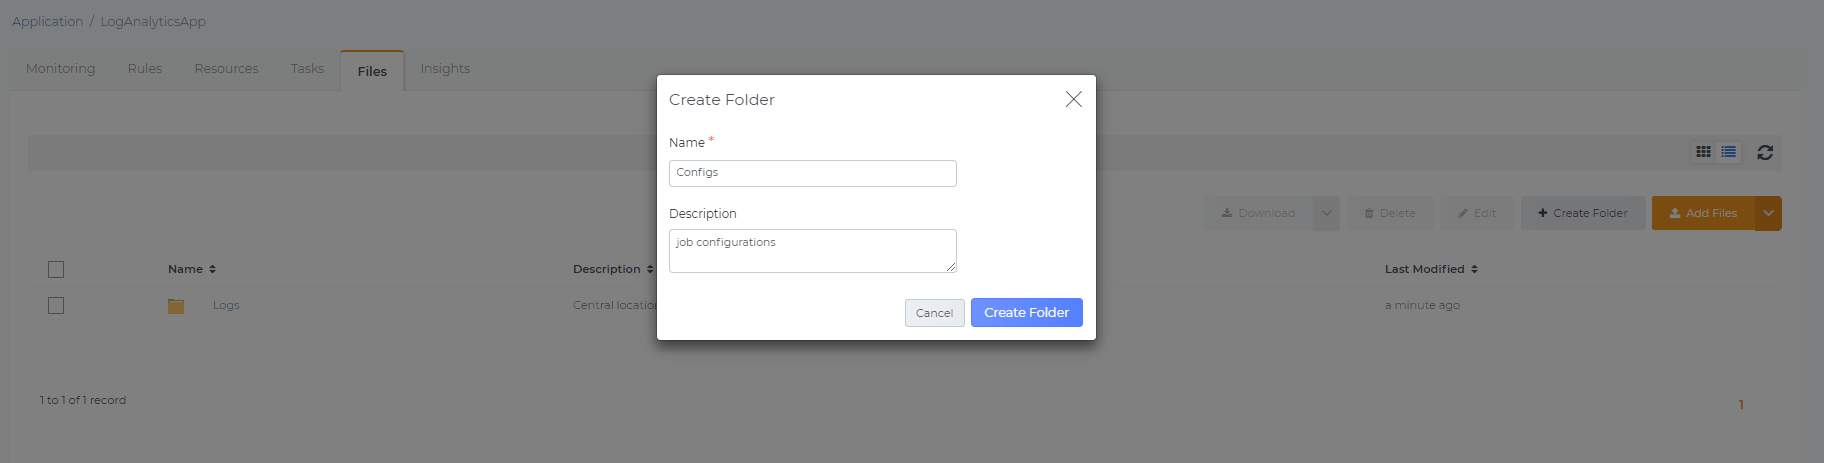
Manage Folders
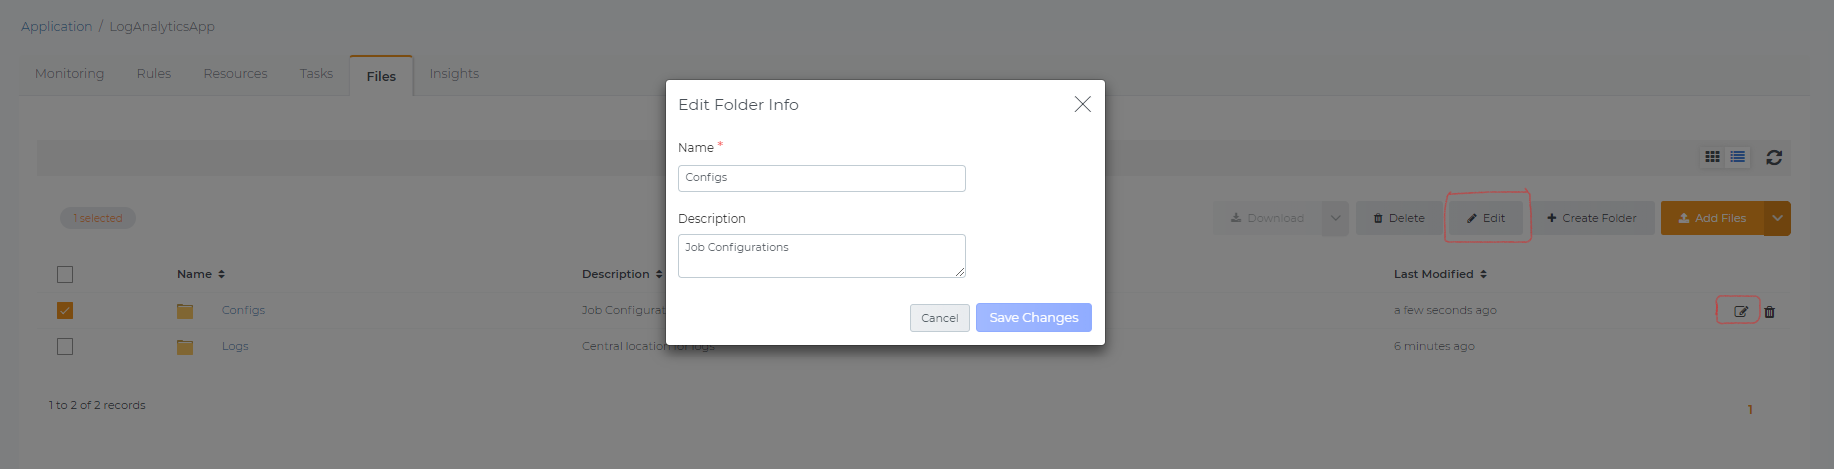
2. Select the folder and Click “Edit” to Edit the Folder’s Name and Description and Click “Save Changes”.
3. Select the Folder and Click “Delete” to Delete the folder

Adding Files from Local Machine
1. Click “Add Files” to upload files from local machine, you can drag and drop as well as click to select from your local machine. Then click “Upload.”

Adding Files from a Remote Machine to the File Storage
1. Click on down arrow next to “Add Files”, Select “From a Remote Machine” in the drop-down

2. In the “Add files from a Remote Machine” window, click “Select”.

3. This will list all the remote machines that are part of this application. Select the machine that you will be adding the files from.

In case the remote machine has not met the prerequisites, there will be error info in the bottom, please review and take an appropriate operation to achieve the prerequisites. For example, if you see “this instance isn’t running” message please use the “Start” operation in the action panel to start the instance.
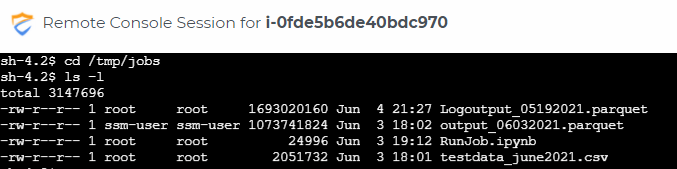
4. Enter the full file path name, Click Add another to add more than files.

5. Then Click “Upload. You will see that request to upload the files has been accepted and being processed.

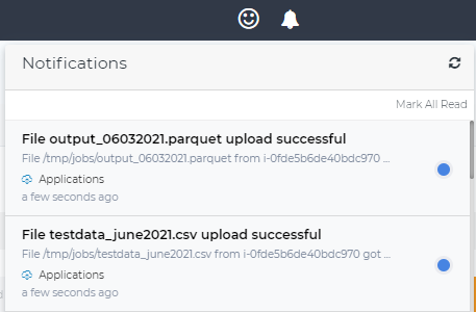
6. You will receive a portal as well as an email (associated with the user session) notification.

Viewing/Deleting uploaded files in the File Storage
1. You can view the uploaded files in the File Storage.

2. Now you can manage the files such as updating name & description and delete them through Edit & Delete actions.


Downloading Files from File Storage to Local Machine
1. Select the File and Click “Download” to your local machine.

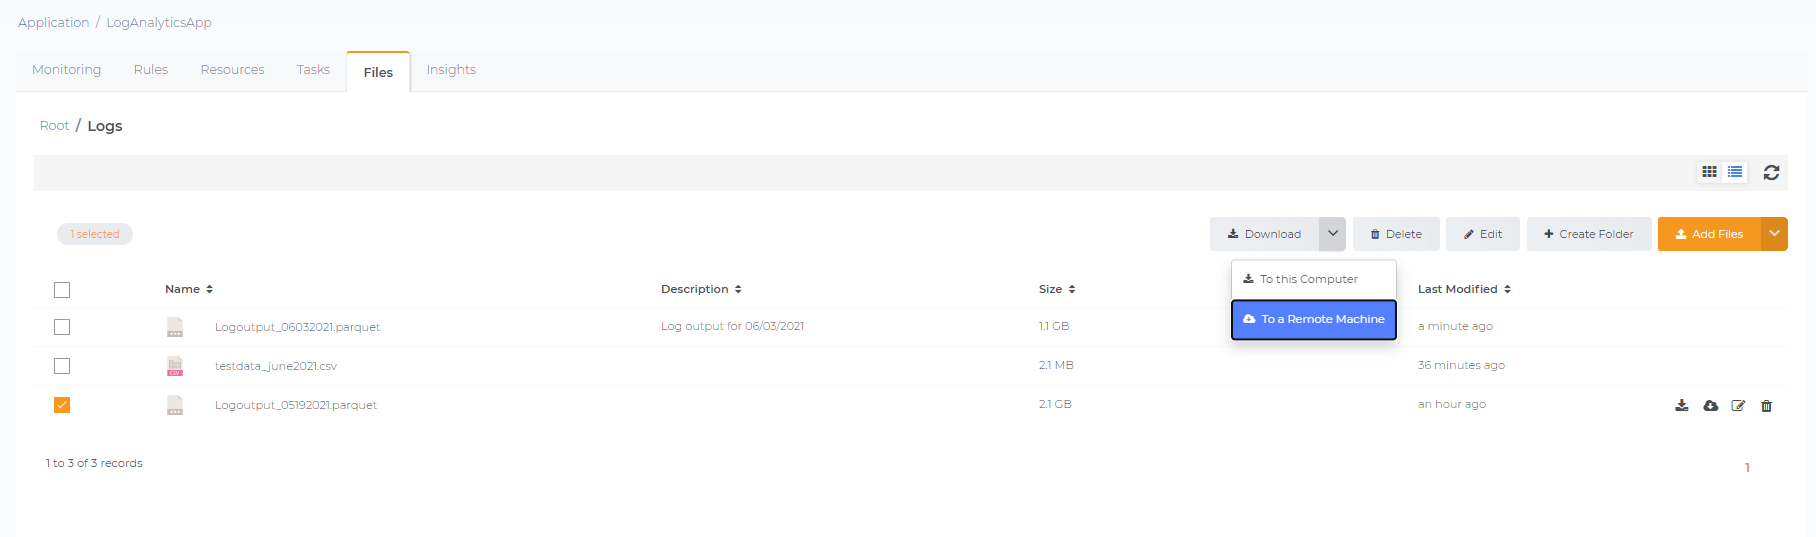
Downloading Files from File Storage to a Remote Machine
1. To download a selected file to the remote machine, click down arrow next to “Download” and select “To a remote machine” option.
2. In the “Download to a Remote Machine” window, click “Select”.

3. This will list all the remote machines that are part of this application. Select the machine that you will be downloading the file.

In case the remote machine has not met the prerequisites, there will be error info in the bottom, please review and take an appropriate operation to achieve the prerequisites. For example, if you see “this instance isn’t running” message please use the “Start” operation in the action panel to start the instance.
4. Enter root folder path that will be the download location in the remote machine.

5. Then Click “Download”. You will see that request to download the file has been accepted and being processed.

6. You will receive notification in DAY2™ portal as well as in the email once the download completed. The file should be now available in the remote machine for your use.